In Part 1, I talked about wanting to make a 3D printed Homo naledi skull for my department and how it led me into yet another hobby. I had a lot more summer to go after getting my feet wet with 3D modeling and printing. What else could I do to occupy my time? The breaks in the school year are typically when I work on my super– comic hero comic. Sculptris and Meshmixer called out to me, though, as I really enjoyed the challenge of sculpting polygons on my computer. While I really should have worked on the actual comic more, I thought a good compromise for my time was to make a 3D printed bust of the main character.
So began a fun project that would take months to finish. With the H. naledi project, there was very little sculpting to do: if anything, I had to make sure I did not unintentionally change the shape with my actions. For the bust, I had to learn how to turn an idea or a flat image into a three dimensional shape. What would look great at one angle would look completely off from another. I was also unfamiliar with the many tools in the software and had to go through a lot of experimentation to get the feel of each of one. I started with drawings of the front and side views, making a token effort to make them match.

{ Crude sketch I worked from. }
Then I started with a lump of virtual clay and poked it with the mouse and Wacom stylus. Playing to the side were Youtube tutorial videos on 3D character sculpting, sometimes focused on what I was working on (e.g., eyes, mouth). Digital sculpting was very relaxing and interesting, which helped the time pass. After a few weeks, when I had the model looking good enough, I sent the file out to someone on 3Dhubs to have it printed. It worked!
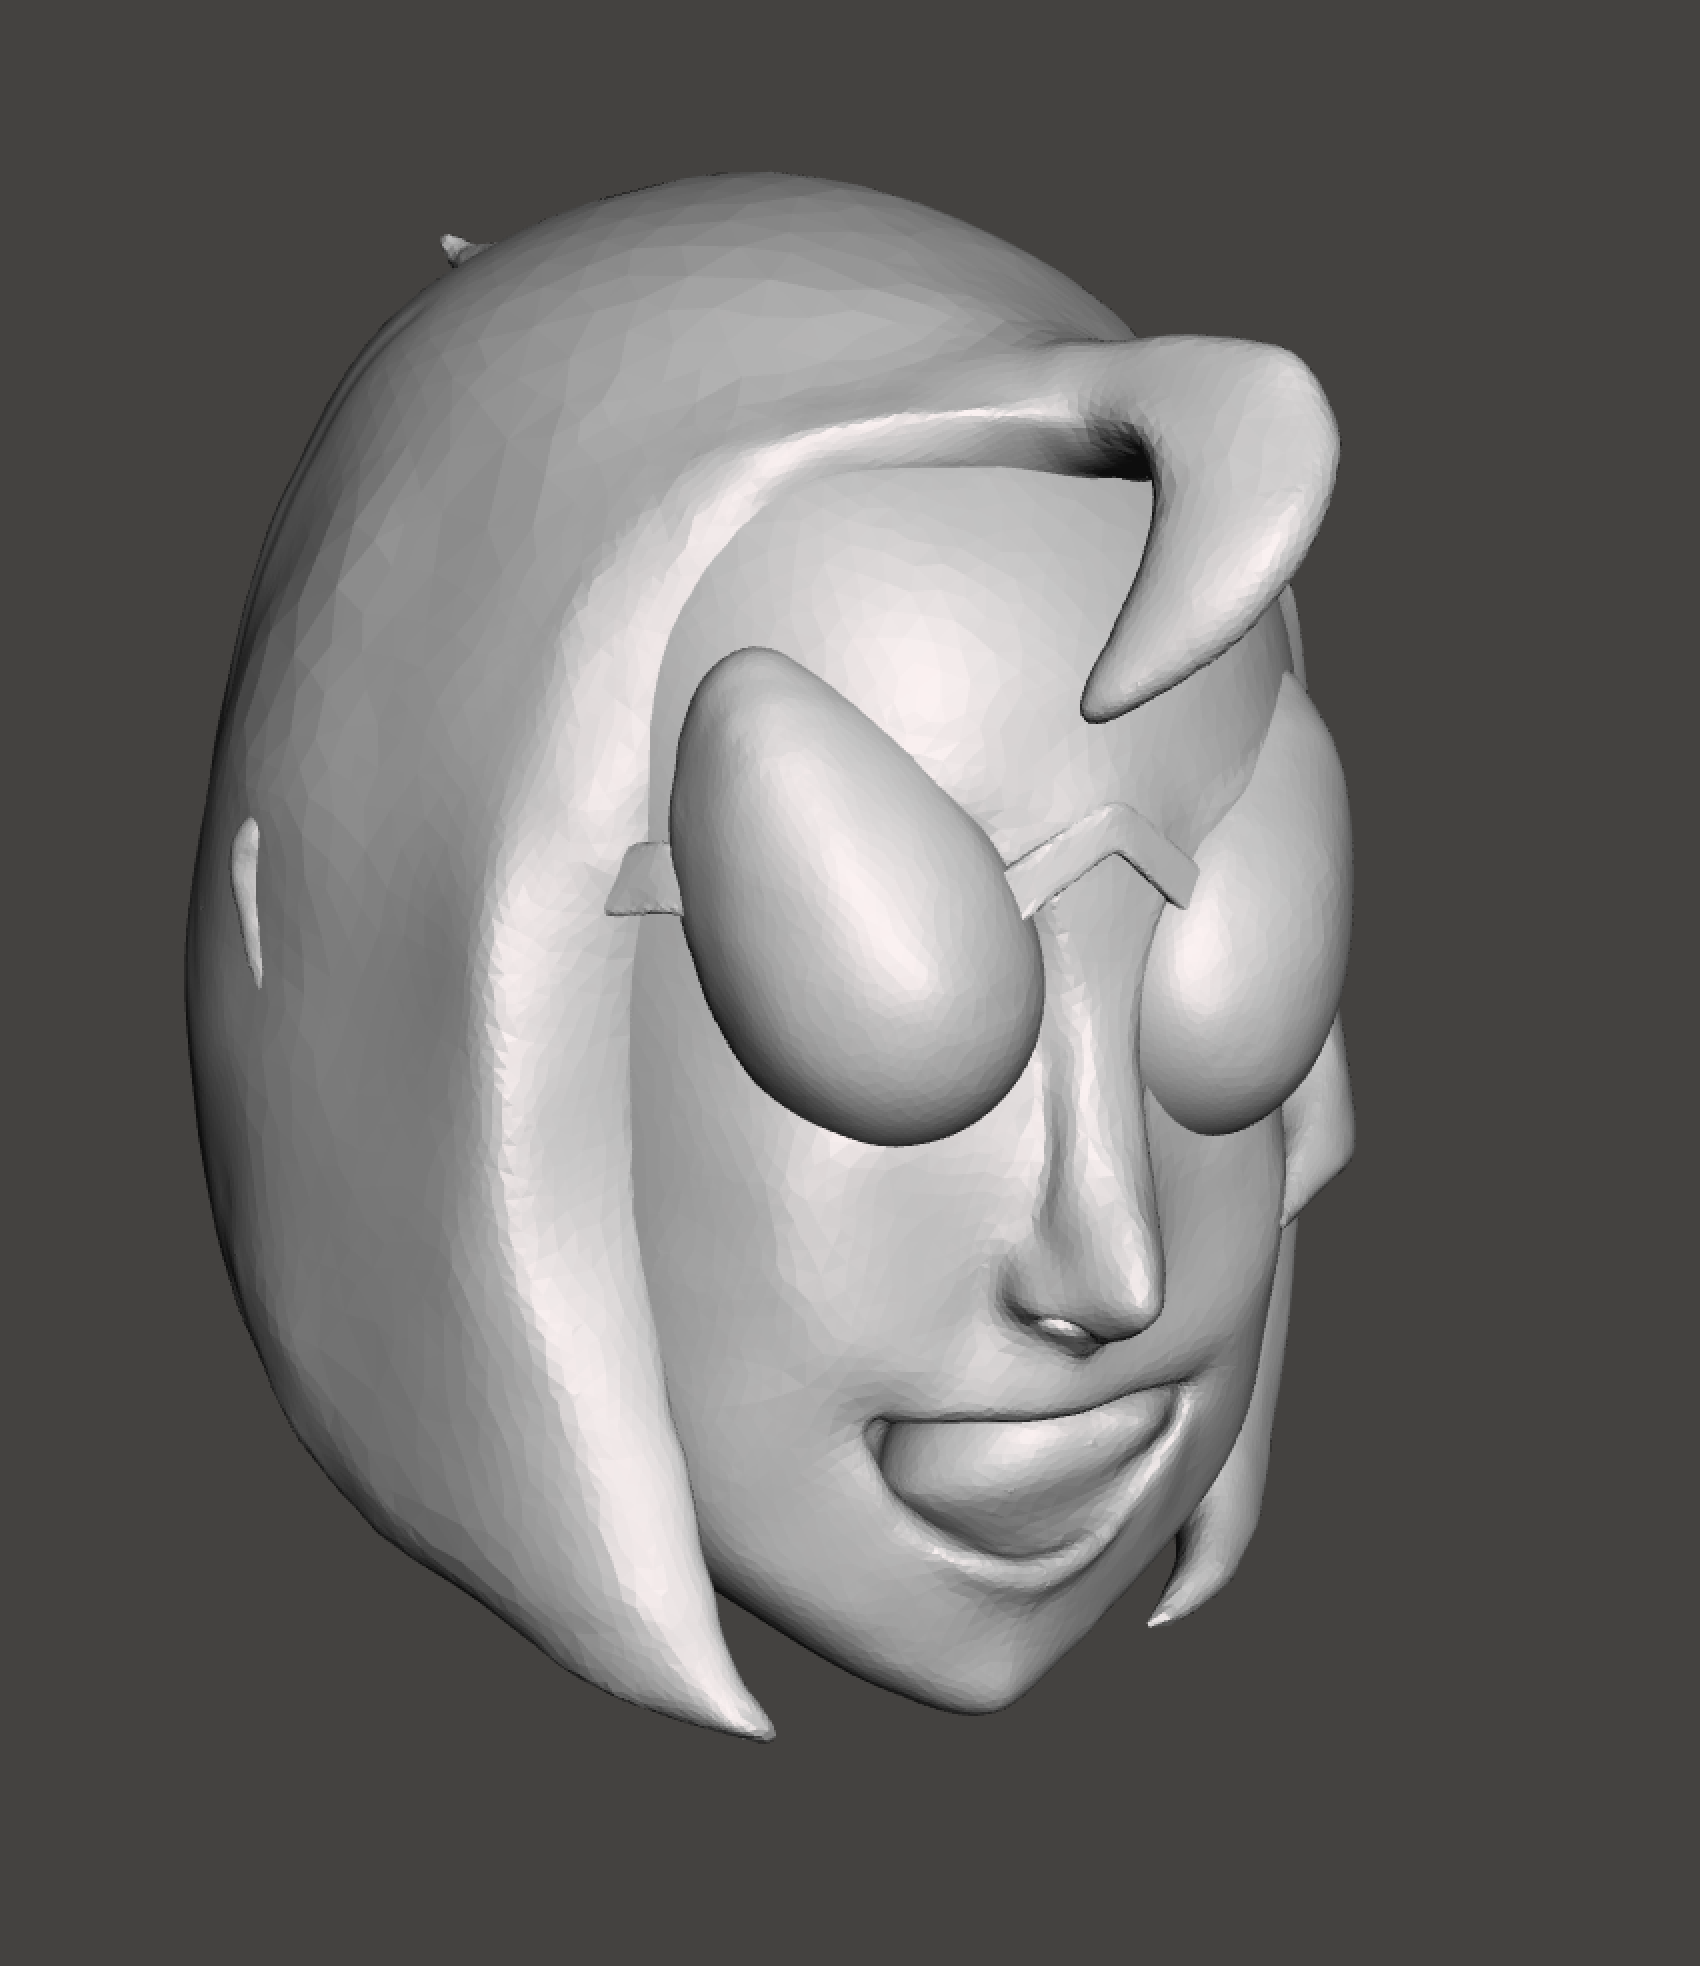
{ First completed version of the head. }
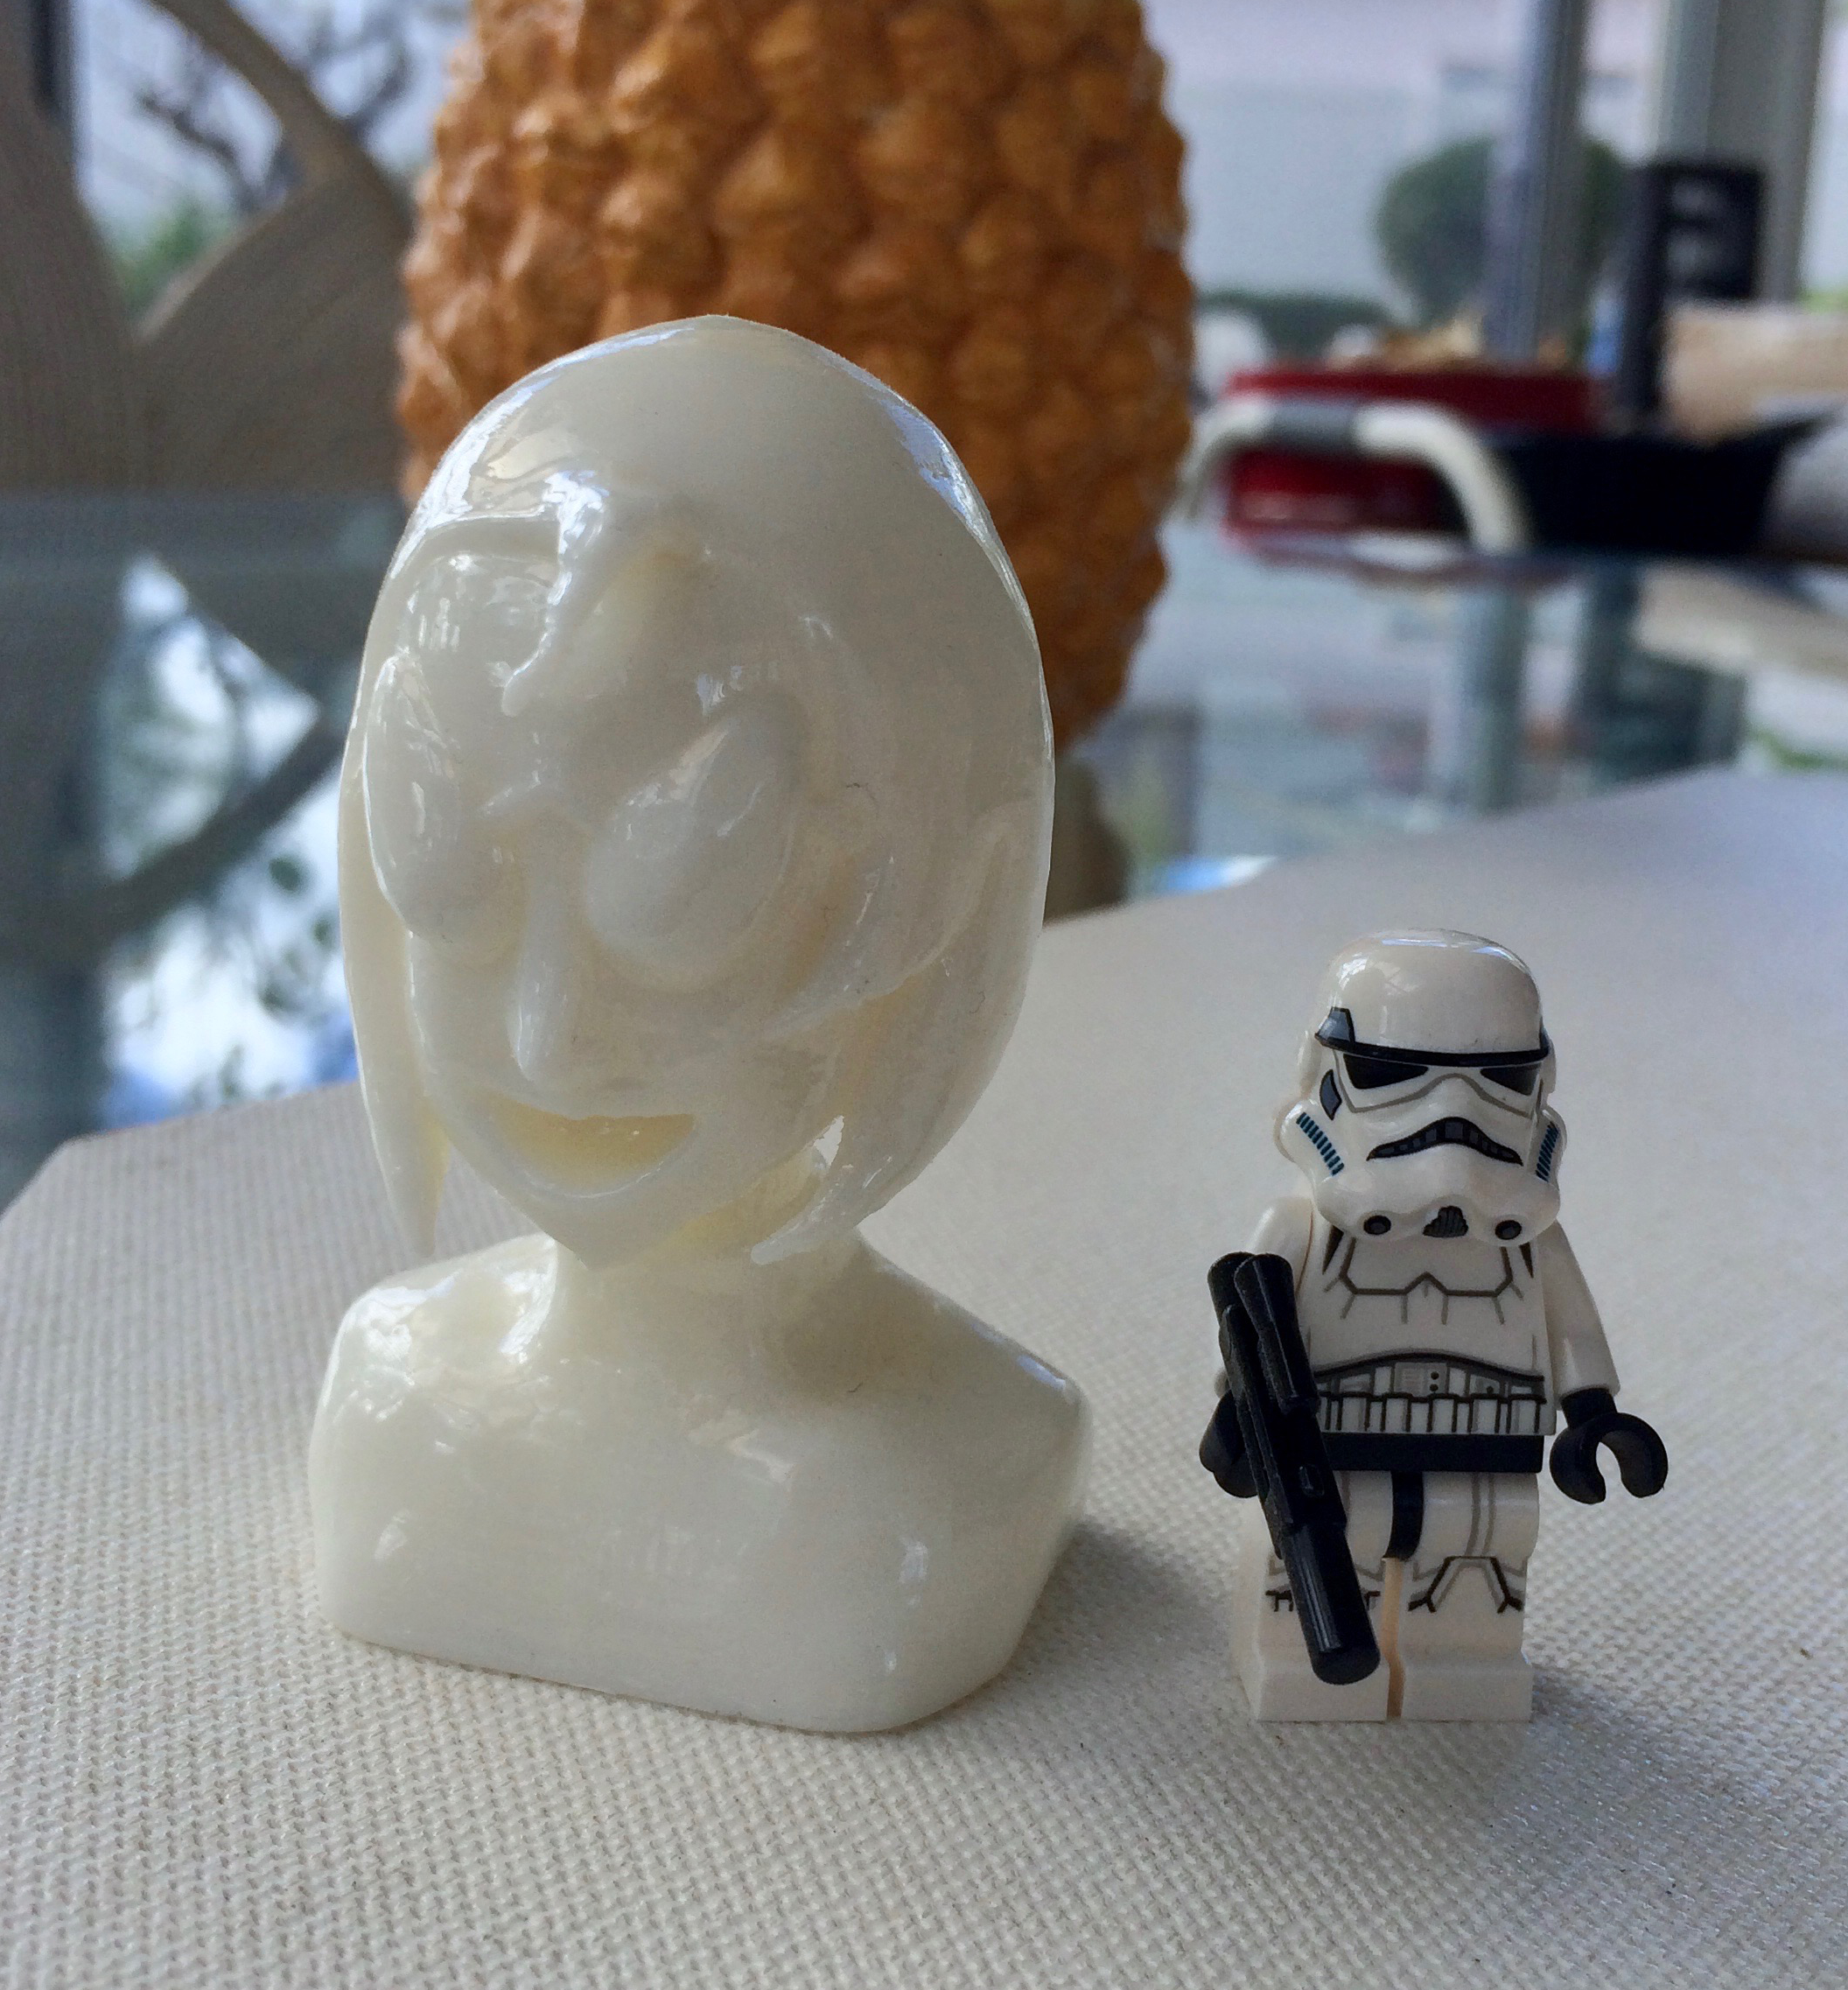
{ Bust prototype 1 with Lego Stormtrooper for scale. }

Note: work on a 3D print does not have to end with the creation of the object. There are various ways to make it look even nicer. For the first bust, I exposed it to acetone vapor in a glass jar to smooth out the layers and give the print a shine:
I mentioned in Part 1 that 3D printers were picky. One example is that printers need shapes to be at certain angles since the printer cannot print in mid-air. On the bust, one bad angle is the ‘hair flippy’ that sticks out the front of Keeley’s forehead. A solution to this overhang is to print a temporary support structure under it, but removing the supports leave scars on the print. That was why the printed hair flippy looks slighter and more jagged than the one in the 3D model. I made a second print, just the head, with that piece no long sticking out, but lying against the forehead.
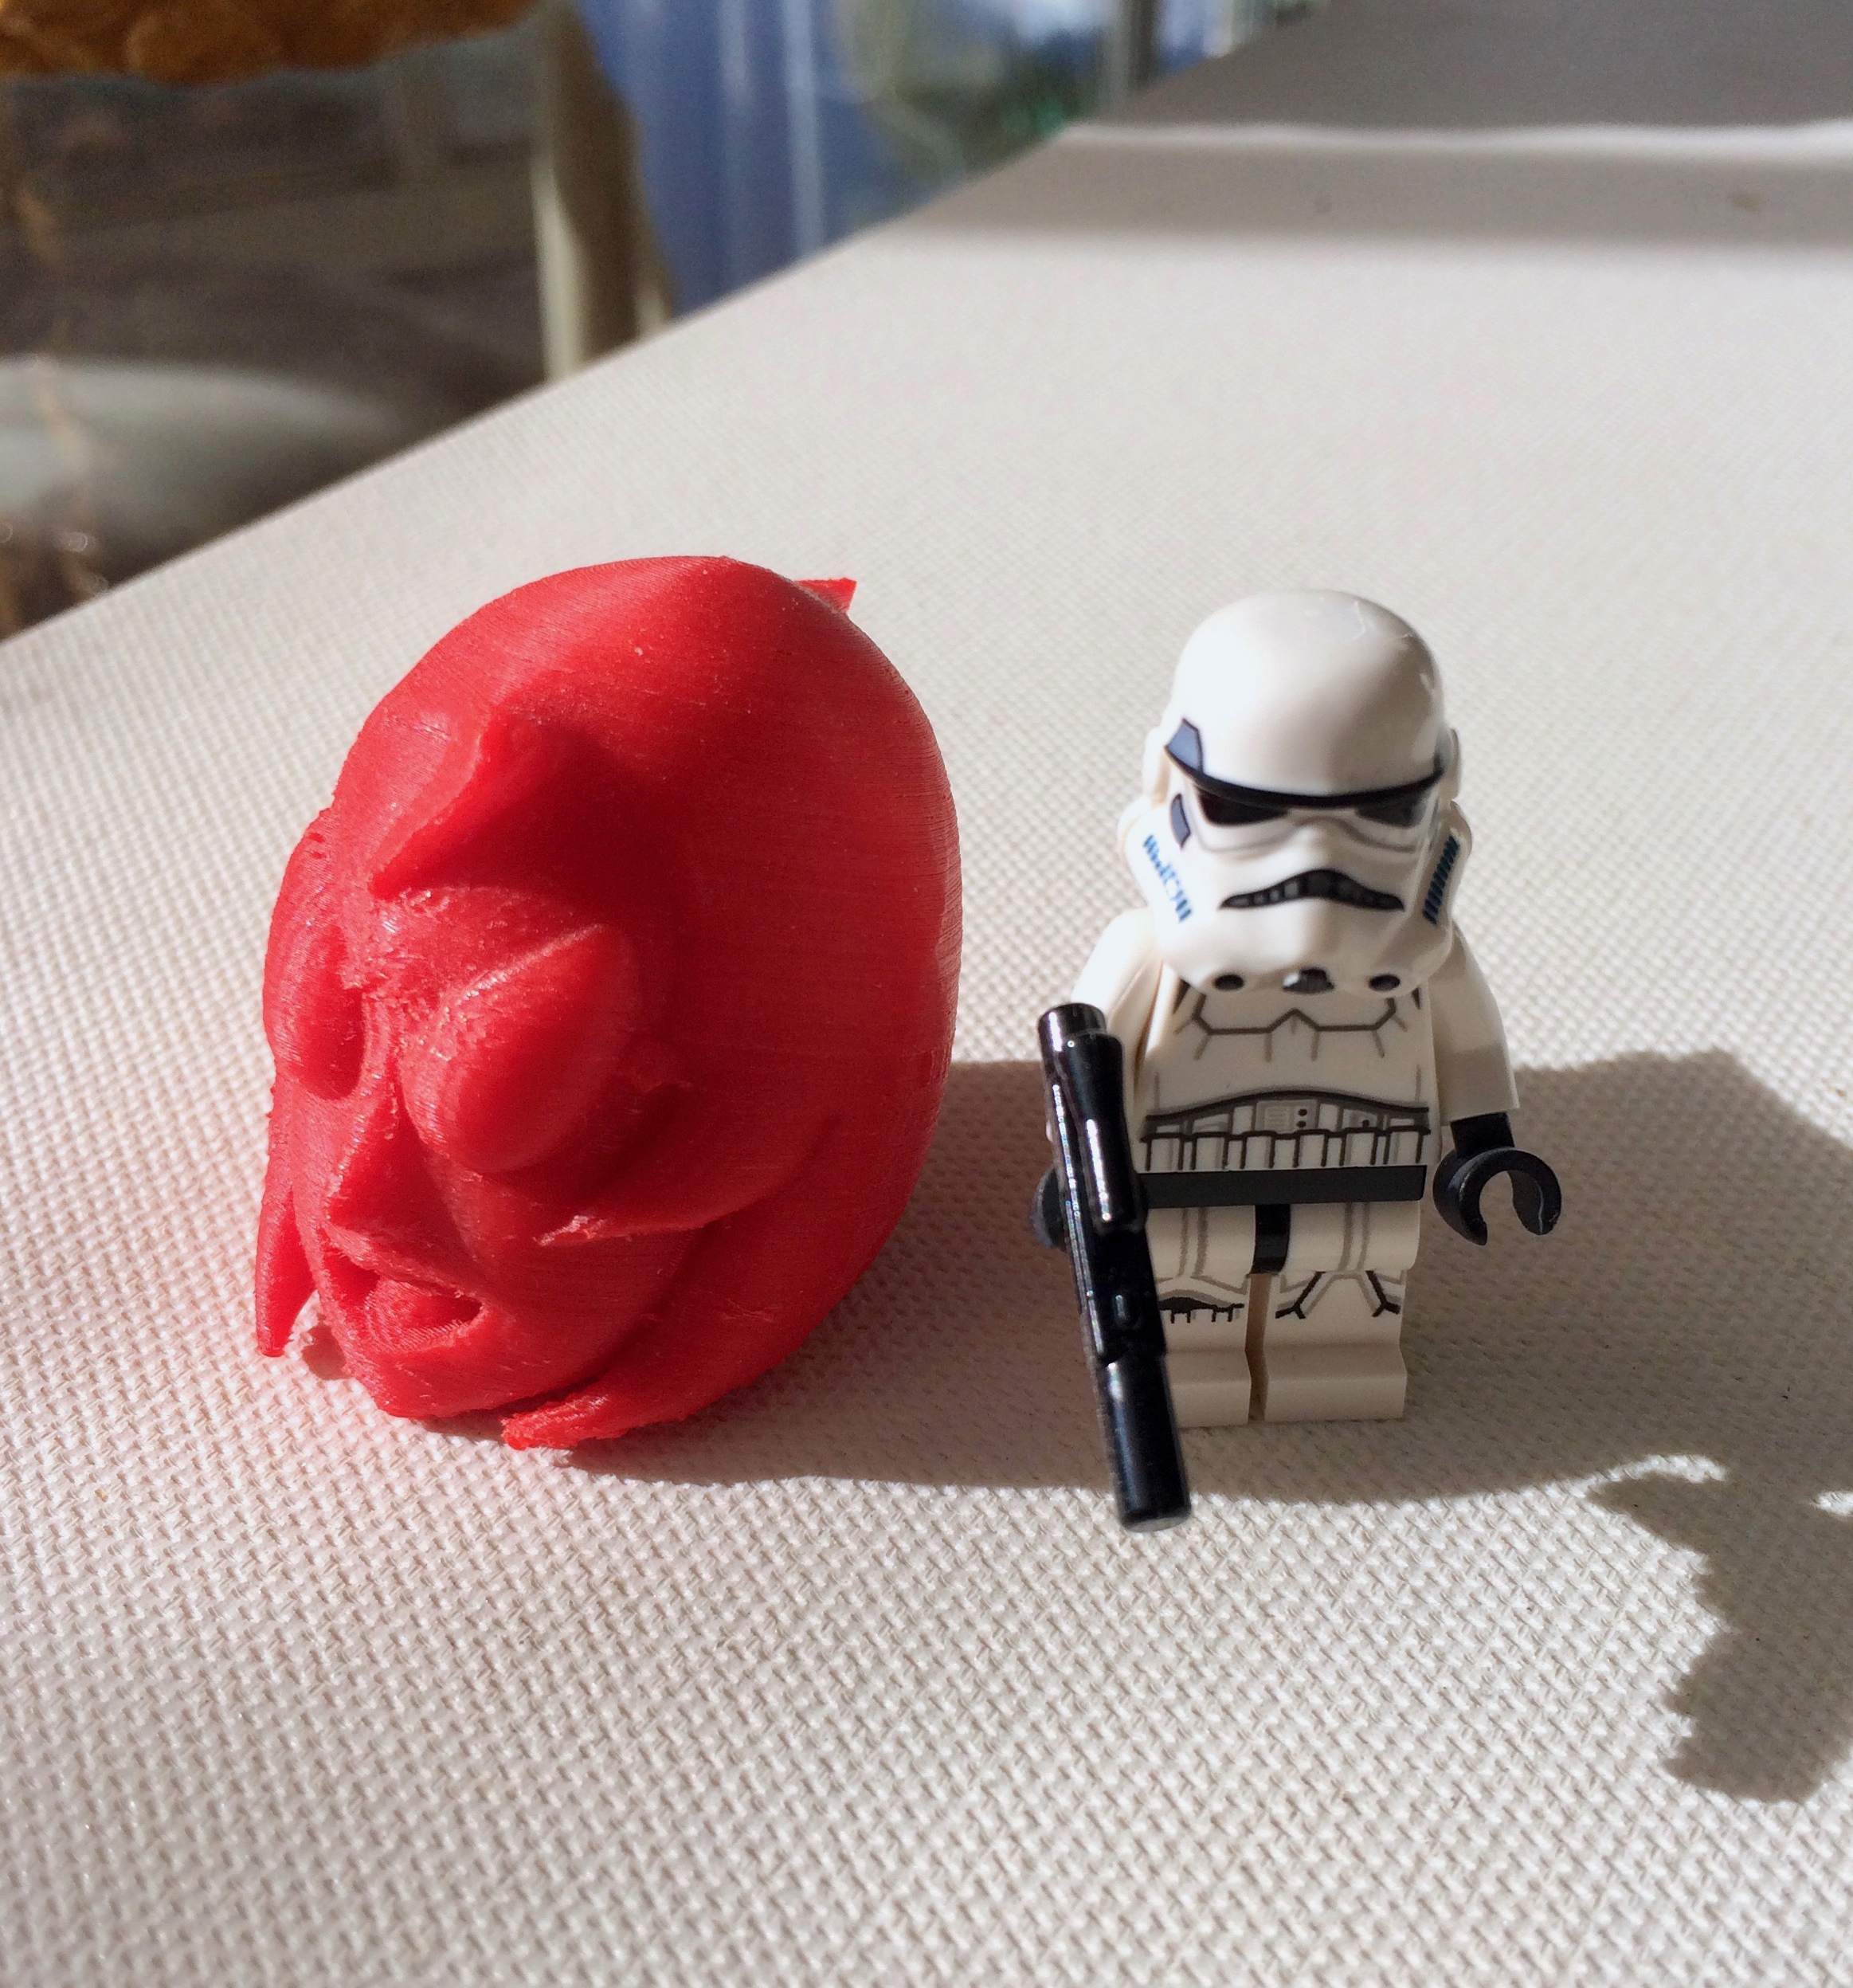
{ Hair flippy 2, printed in red just to see what that’s like. }
I did not like either solution, but read about how models could be printed in separate pieces that are joined after printing. Making the hair flippy separate and including a peg on it that matches a hole built into the forehead was what I needed. Making a peg and hole fit in a 3d print was not as simple as it seemed but I made it work by making the hole a half millimeter larger than the peg.
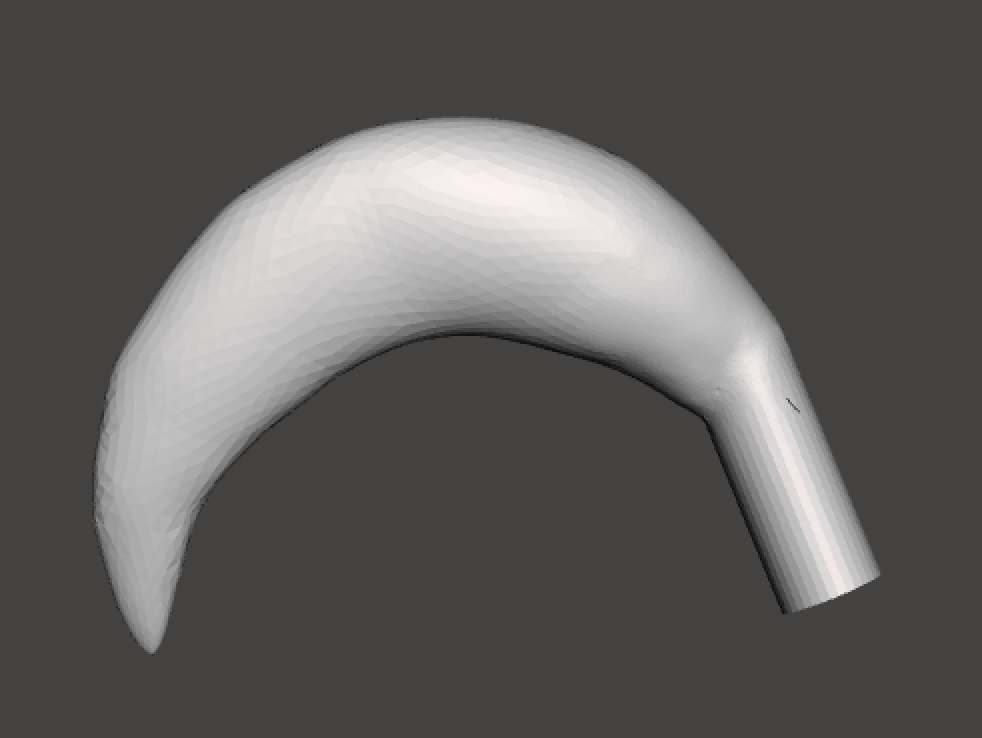
{ Hair flippy as a separate piece, with peg that goes into a hole in the hairline. }
Since I enjoyed the trinkets I had made, I had the idea of making more to give out as Christmastime presents for friends who were especially supportive of the comic. But, since I had months of summer left and the winter holidays were so far away, what if I made different versions of the bust so my friends would not all be receiving the same thing? For example, I could make different facial expressions and have one version with goggles and the other with eyes. I spent the rest of the summer remaking the bust head, neck, and body so that they are modular and could be swapped around in software then merged together into one mass. I then made a different head, which had the mouth closed instead of open. The open mouth got an upgrade too as I made rudimentary teeth and a tongue for slightly more realism. While just a pink half circle would do for the comic, it looked odd in 3D.

{ Bust in Meshmixer almost ready for printing, with hair flippy positioned in the head hole. The hair flippy would be printed en masse separately. }
As summer ended, I had a lot of variants in progress, ready for some work over Thanksgiving break and after the fall semester ended. The printing of the gift busts and the post-printing work will be detailed in the next part.